


All Iron Shipwrights 1/350 Scale Model Kits come with a full resin hull, parts, instructions, and photo-etch for ultimate historical accuracy.
Iron Shipwrights USS LCI(L) — 1/350 Scale (LCI-230)
Kit by Ed Grune

Overview
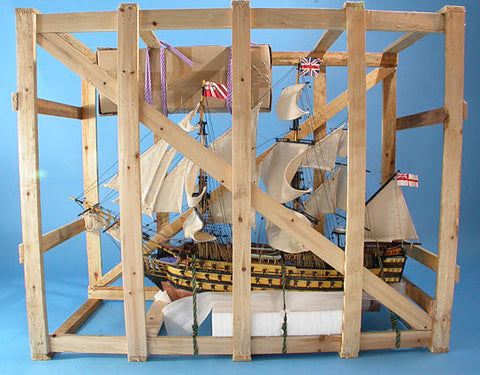
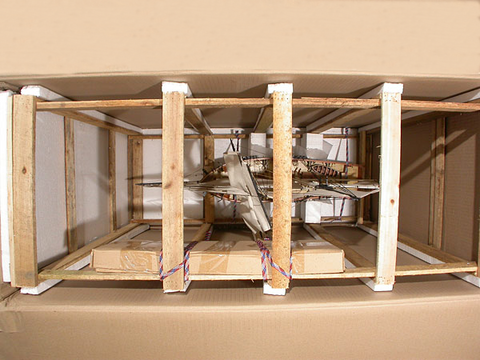
This 1/350 scale Iron Shipwrights kit recreates the WWII LCI(L) landing craft with an accurately cast full resin hull, finely detailed brass/photo-etch fittings, and comprehensive instructions. The kit arrives unassembled and unpainted — the product photos depict a completed build for reference only.
What's Included
- Full resin hull
- Resin detail parts
- Brass/photo-etch details
- Complete instructions
- Decals for all the ships in its class are included
Specifications
- Scale: 1/350
- Approximate completed model length: 5.4 inches (based on a typical LCI(L) length of ~158 ft)
- Manufacturer: Iron Shipwrights
- Designer: Ed Grune
Brief History (Class-level)
LCI(L)-334 denotes a Landing Craft, Infantry (Large) — one of the mass-produced amphibious transports used by the U.S. Navy in World War II. LCIs were typically 150–160 feet long and designed to carry and land a company-sized group of troops directly onto beaches during amphibious assaults. Built in the early-to-mid 1940s, LCIs served in both the European and Pacific theaters, providing support for invasions, raids, and ship-to-shore movements. They were lightly armored and equipped with light anti-aircraft and machine-gun armament for self-defense. Individual hulls like LCI(L)-334 had varied postwar fates (decommissioning, transfer, civilian conversion, or scrapping); for an exact service record of LCI(L)-334, consult naval archives or ship logs.
Builder Notes & Highlights
- Entry-level resin & brass kit — excellent for learning resin assembly and brass/photo-etch handling.
- Minor hull casting bubbles may occur and are easily filled and sanded.
- Many builders refine skegs/prop/rudder details, ramps, and 20mm gun barrels for a finer finish; these are common optional enhancements.
- Kit rail runs are straightforward and make this a good warm-up before more complex kits.
Painting & Finishing Tips
- Suggested approach: base coat, subtle weathering, oil/turpentine washes for shadowing, dry-brushing for highlights, and flat varnish to finish.
- Builders often pre-paint brass fittings and attach them after sealing paint layers.
Mounting Tip
To mount the whole-hull resin model to a base, consider using brass screw-threaded inserts set into the keel before painting. This allows secure attachment and easy removal without breaking glue bonds.
Customer Support
All models come with complete instructions and excellent customer support. Free replacement parts are available as needed — no questions asked.
Important: Model kit does not come with a display stand.